Getting Started with ADO .NET
To use the ADO .NET API in your application to access RDM databases, take the following steps. There are separate steps to build an application using command line interface (CLI) and to build an application using Visual Studio.
Registering the ADO .NET library
- Open a command prompt with Administrator permissions and navigate to the bin directory under the RDM installation location (C:\Raima\RDM\14.2\ by default).
-
Run the
gacutilutility as follows.C:\Raima\RDM\14.2\bin> gacutil /I rdmRaima.Rdm.dll
Building an application using CLI
To build an ADO .NET application using CLI, take the following steps.
- Make sure you have access to the Microsoft C# compiler by executing the following command. The C# compiler is part of Microsoft .NET Framework.
C:\Users\build>csc.exe
Microsoft (R) Visual C# Compiler version 2.10.0.0 (b9fb1610)
Copyright (C) Microsoft Corporation. All rights reserved.
-
Create your ADO .NET application. For more information on this topic, refer to the Basic ADO .NET Application Steps section.
-
Locate your RDM product installation directory. The ADO .NET library is named
rdmRaima.Rdm.dllin thebindirectory under the installation directory (default directory is: C:\Raima\RDM\14.2\). -
Build the main class
.csfile you created above using the C# compiler as follows:
csc.exe -r:"C:\Raima\RDM\14.2\bin\rdmRaima.Rdm.dll" HelloWorld_ADO_main.cs
You need to add a command-line option "-platform:anycpu32bitpreferred" in order to build an application to work with the 32-bit version of RDM
Building an application using Visual Studio
To build an ADO .NET application using Visual Studio, take the following steps. The steps below assume Visual Studio 2017 is being used. Some details may differ depending on the version of Visual Studio you use.
-
Create a new C# project by going to File -> New -> Project…
-
Select a C# project type (e.g. Console App) and click OK.
-
Add the Raima ADO .NET library to the reference by taking the following steps.
-
On the Solution Explorer window, right-click Reference.
-
Select Add Reference…
-
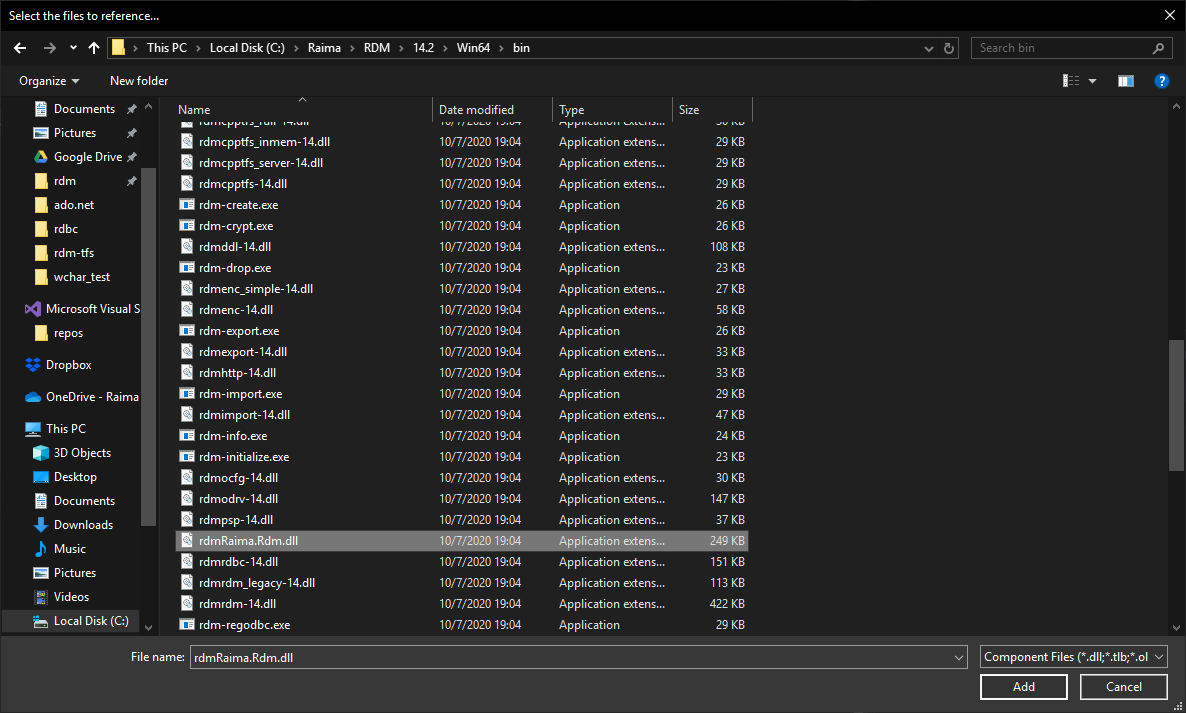
On the Reference Manager dialog box, click Browse on the bottom right.
-
Locate and select the ADO .NET library (
rdmRaima.Rdm.dll) in the RDM installation directory. -
Click Add. You are now ready to use the Raima ADO .NET provider with your project.
-